ALICE Portal Jobs Tab
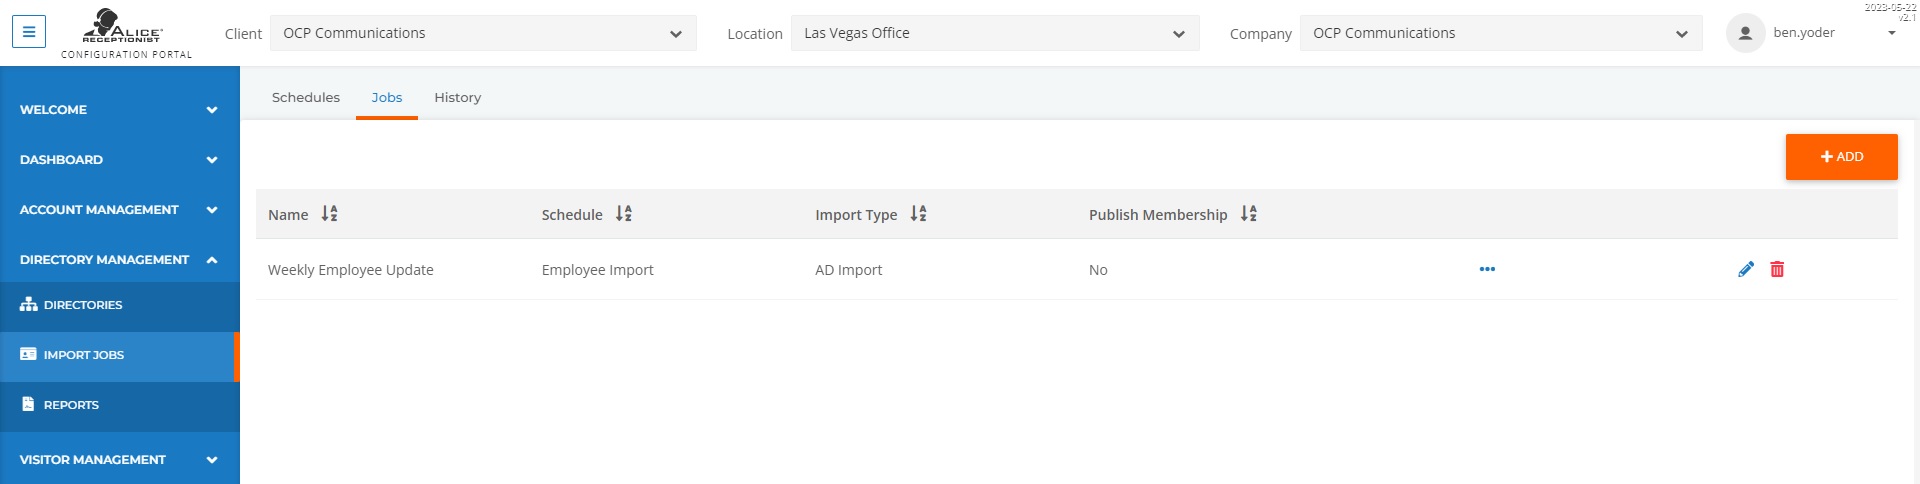
The Jobs tab is used to create Jobs that will perform scheduled imports from Microsoft Azure.
Creating an Azure AD Employee Import Job
Before performing setting up a Job using Azure AD, Azure AD first must be configured to integrate with ALICE Receptionist. Refer to the connecting Azure AD to ALICE section for more details.
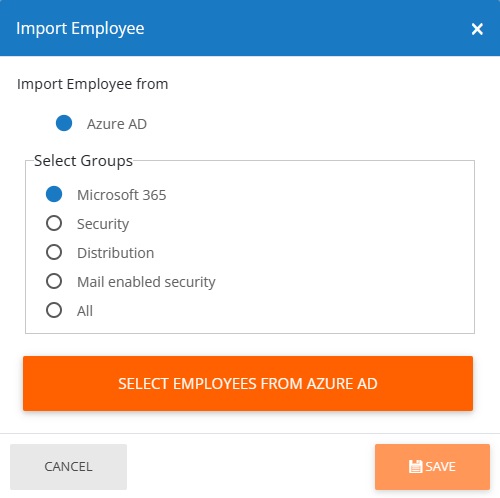
Selecting the "Azure AD" import option will provide five options for importing from groups:
-
Microsoft 365
-
Security
-
Distribution
-
Mail enabled security
-
All
After selecting the group import option, use the Select Employees From Azure AD option.
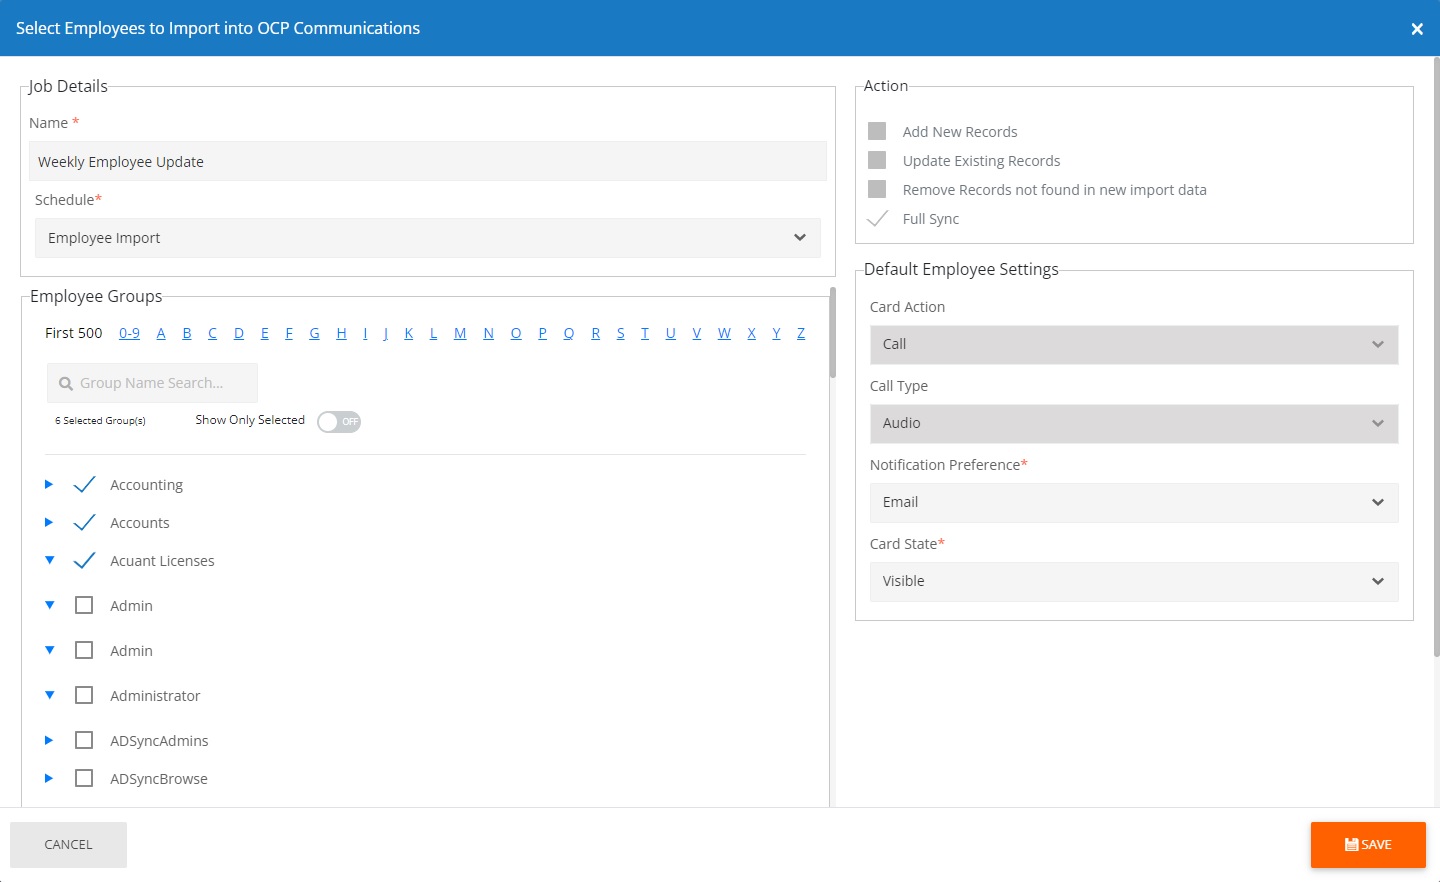
A pop-up window will appear with employee records that can be imported. The data on this screen may take some time to load depending on the size of your organization and the amount of information in your Azure AD.
Job Details
-
Name – The display name of the Job that will appear
-
Schedule – When clicking this field, a drop down menu will appear with any schedules previously created. To create a Schedule, refer the Schedules section.
Employee Groups
Place a check mark by the groups that will be imported into the ALICE Receptionist database. If the group includes individuals who should not be a part of the ALICE Directory, create a new group for individuals who will appear on the ALICE Directory and import that group instead.
If a large number of groups are in the import, the "Group Name Search" can be used to narrow down the results of groups that appear.
Action
For import jobs, the Action section is locked, only allowing for a Full Sync, which adds, updates, and removes Employee records based off the groups in your Azure AD import.
Default Employee Settings
These fields determine the default configuration of the imported employee. For details on the setting for each field, please refer to the Employee Tab section.
-
Card Action – Determines the action that will occur when a visitor selects the Employee Card.
-
Call Type – If the card action calls the employee, determine whether the call being placed will be an audio, video, or other type of call.
-
Notification Preference – Determines how the employee will be notified when a visitor checks in with them.
-
Card State – Determines how the card will appear, such as whether the card or its text will be visible. Or if the card itself will be visible.
Select the orange Save to save the Job.