Uploading Upcoming Visitor Lists
An ALICE Portal user can schedule multiple appointments using the Import Guest List option using a spreadsheet with multiple visitors’ information.
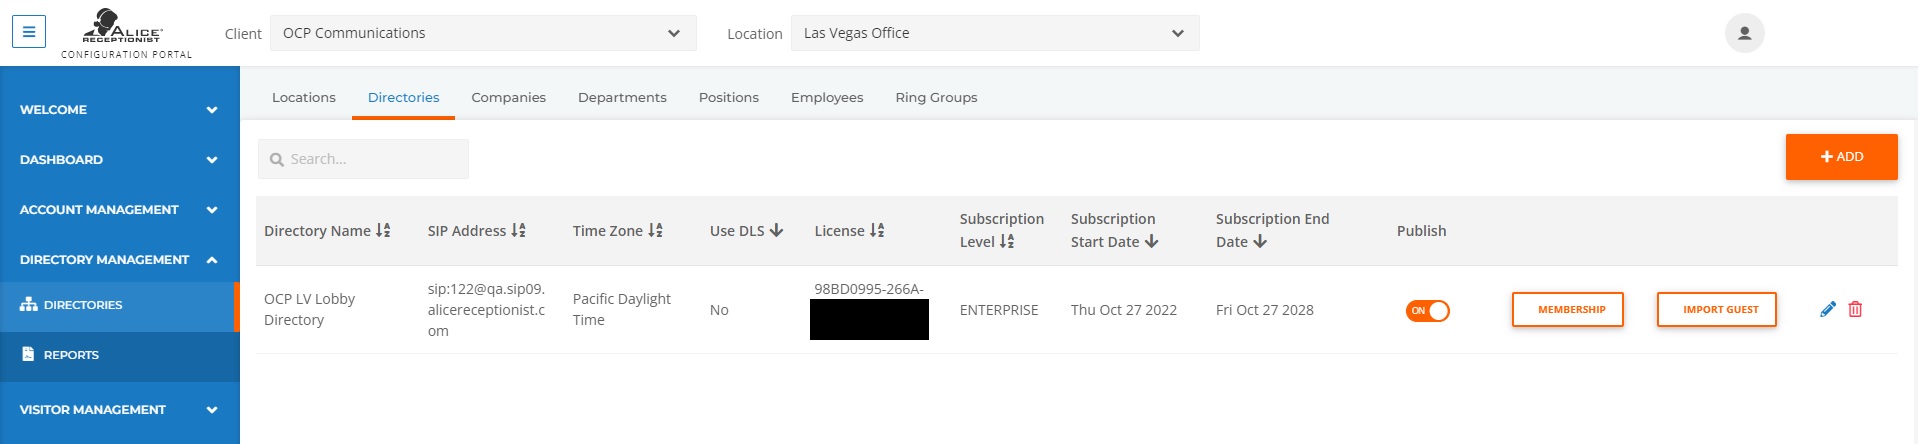
Log into the ALICE Portal and navigate to the Directories tab in the Directory Management section of the site. Click the Import Guest button on the Directory you wish to schedule multiple appointments for.
Note: Appointments scheduled will be shared amount Directories under the same Location listing, allowing the user to log in to any one of the Directories at an office.

The Import Guest Data window will open. Select Download Sample to download a Guest List CSV template.
The template sheet includes columns for the following data.
-
Appointment Summary – A brief summary of what will occur during the appointment.
-
Appointment Description – A brief description of the appointment.
-
Employee Email – The email address of the visitor's host. This must match the address in their Employee listing.
-
Start Date – The start date of the visitor's appointment.
-
Start Time – The start time of the visitor's appointment.
-
End Date – The end date of the visitor's appointment.
-
End Time – The end time of the visitor's appointment.
-
Location – The location of the appointment.
-
First Name – The visitor's first name.
-
Last Name – The visitor's last name.
-
Phone Number – The visitor's phone number.
-
Organization – The organization the visitor represents.
-
Email – The visitor's email address. This email will be sent the appointment invite if a notification is sent.
-
Is Cancelled – Changing this value to 1 will cancel the appointment made. The information in the columns must match the information previously provided. When cancelling appointments, it is recommended to utilize the same spread sheet used to schedule the appointment.
-
Send Notification – Setting this value 1 will send an invite to the visitor when the appointment is created. Setting this value to 0 will create the appointment, but not notify the guests or provide them log-in information. This is recommended if only one person in a group should have permission to check a group in.
-
Group ID – The group number a visitor is assigned to. If this field is blank, the visitor will not be added to a group. Visitors with the same group number will be provided a group check-in code with their appointment notification and will have the ability to check the group in.
Fill in the information with your visitor information and appointment details. Save the spreadsheet in a CSV format.
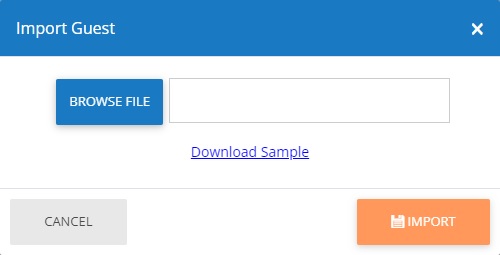
In the Import Guest Data window, click the Browse File button and select the spreadsheet that you just saved. Select Import to upload the data.
For any visitors with Send Notification set to 1, an email will be sent with their appointment code. The visitor can also log in to the preregistration site to review and acknowledge their information and induction materials, such as videos or documents.