Setting up an ALICE Slack Bot
Step #1 – Creating a New Slack Bot
From a web browser, log into Slack, then navigate to https://api.slack.com/apps
Under the "Your Apps" section, click on the Create New App button.
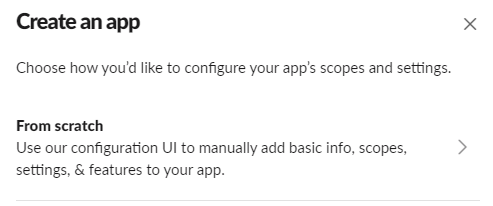
From the "Create an app" section, select From Scratch.
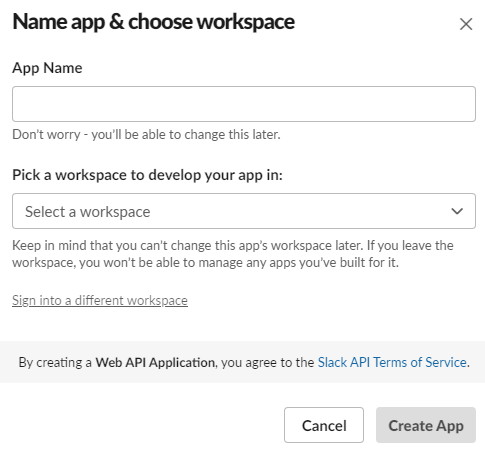
Give the app name and select your workspace from the drop-down menu. Click Create App.
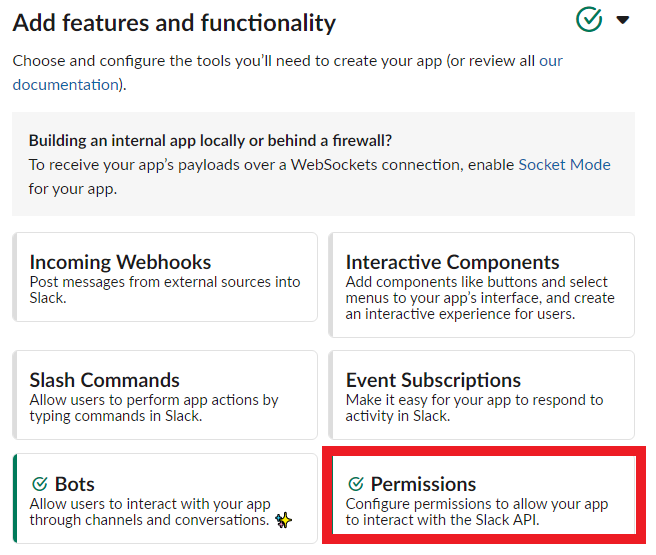
From the "Add features and functionality" section, select Permissions.
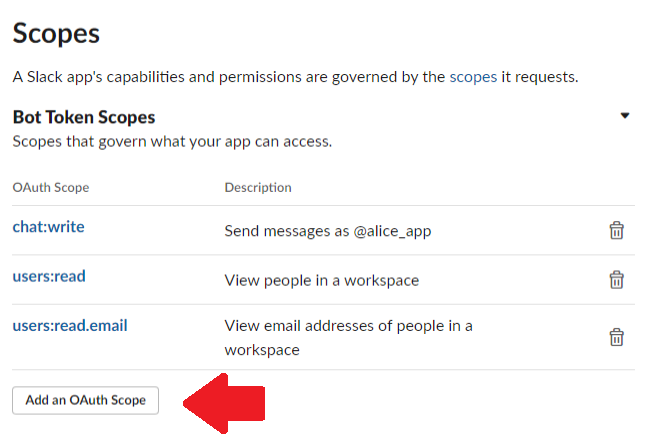
Click Add an OAuth Scope to add the below three scopes in the "Bot Token Scopes" section.
-
chat:write
-
users:read
-
users:read.email
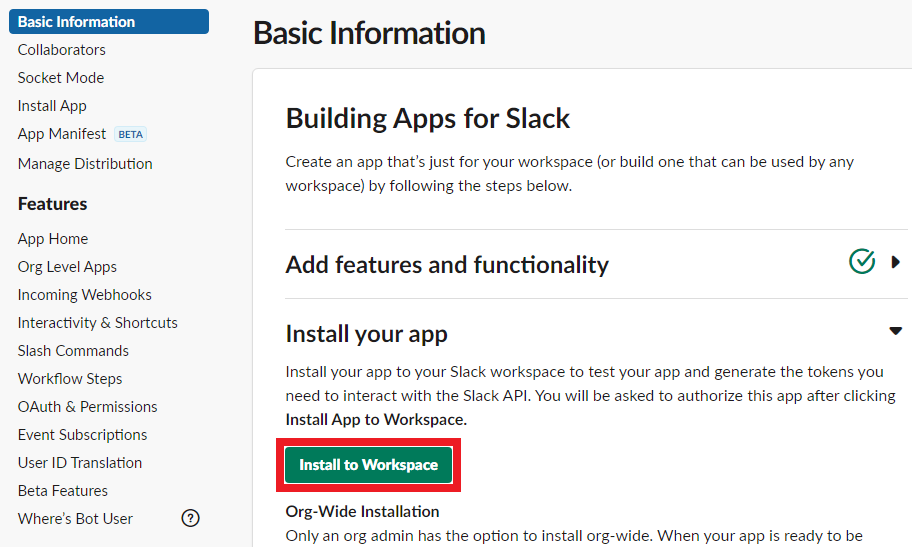
Install your app to workspace by clicking on Install to Workspace.
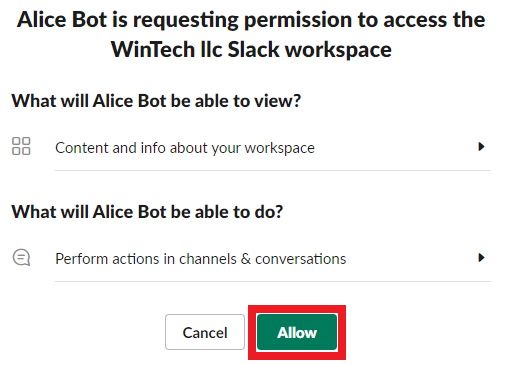
When prompted, grant access to your workspace by clicking Allow.
Step #2 – Configure ALICE Receptionist to Use the Slack Bot
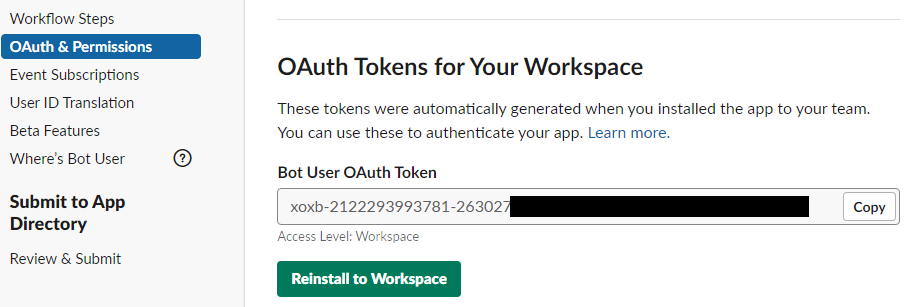
Navigate to the "OAuth & Permissions" to view and copy your authentication token.
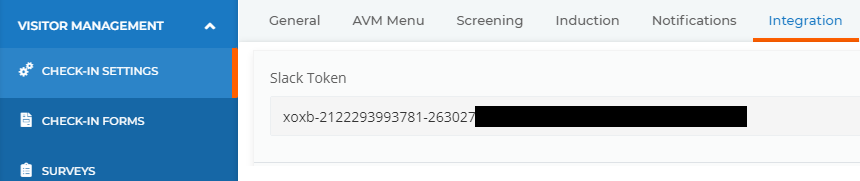
Log into the ALICE Portal using an administrator account. Navigate to the Integration tab under the Visitor Management's Check-in Settings.
Paste the Bot User OAuth Token into the "Slack Token" field.
Click the "Slack Token" field's Save button.