Teams Channel Notifications Setup Process
ALICE Receptionist can integrate with Microsoft Teams to send visitor check-in and other notifications to a Teams channel, letting multiple users receive ALICE notifications. This section will walk through how to set up Teams integration with ALICE Receptionist.
Setting Up the Teams Webhook and Connector
Step #1 – Configuring a Connector
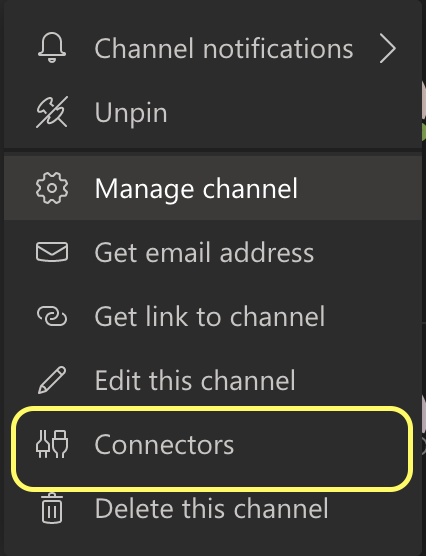
Right-click the Teams channel that will receive notifications from ALICE and select the Connectors option.
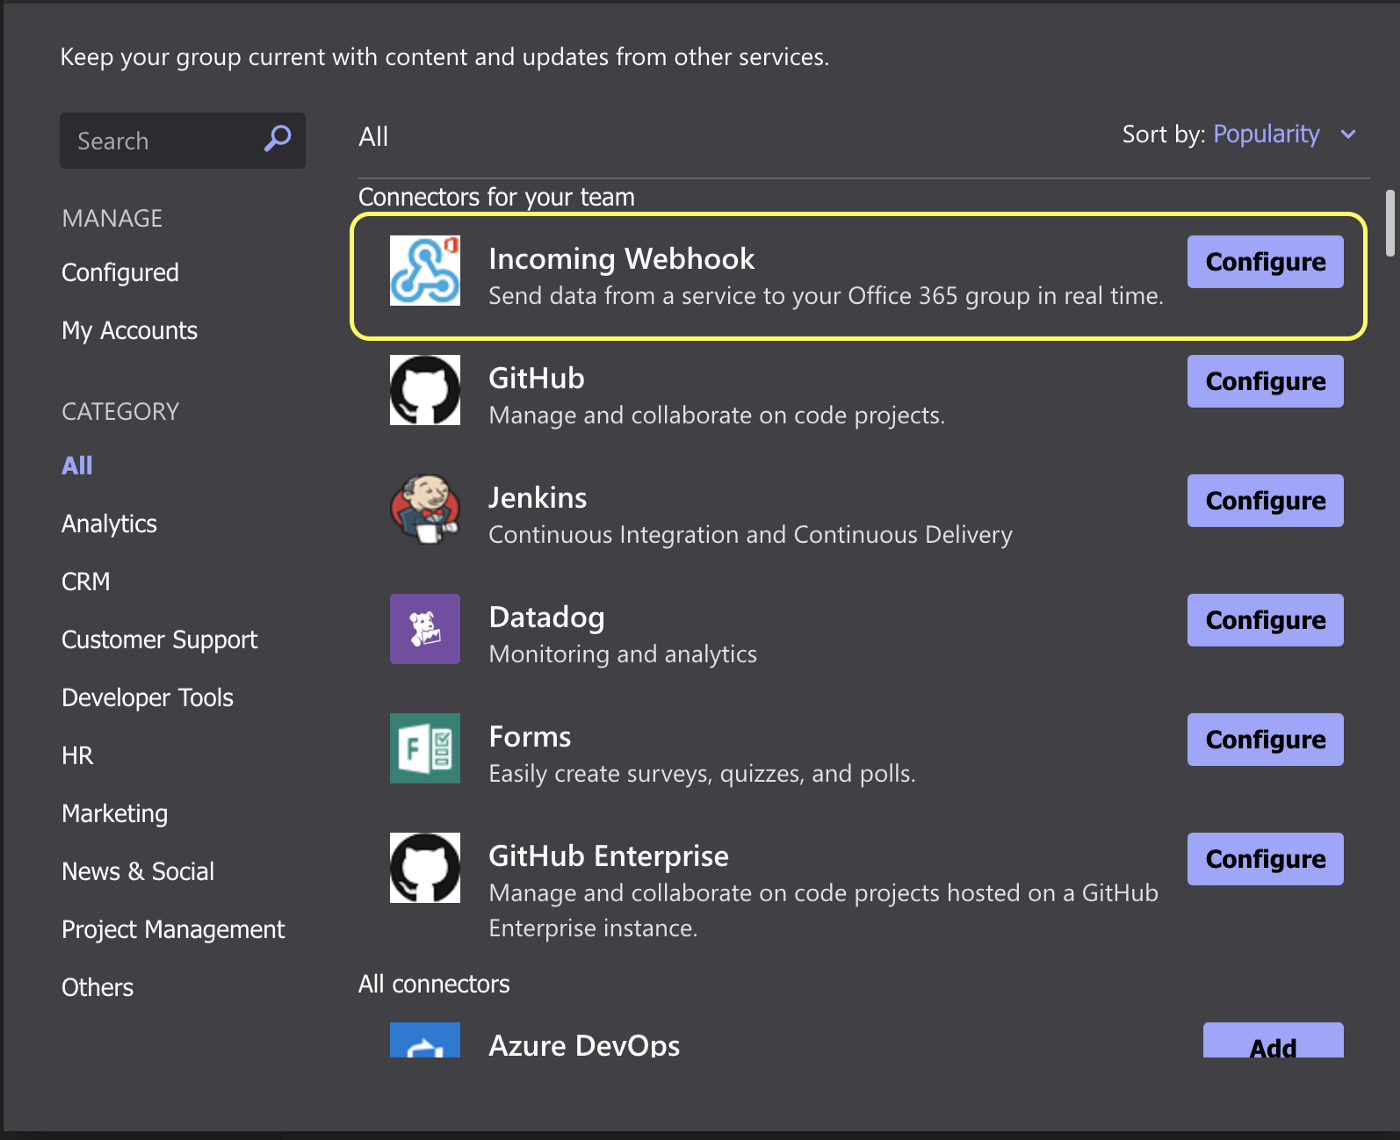
In the new window, select Configure using the "Incoming Webhook" option. If a "Configure" button does not appear, select the Add button to add the connector.
Set the name for the Webhook. This name will be displayed when notifications are received. It is recommended that the name be something that identifies the notification as being from ALICE, such as "ALICE Receptionist."
Select Create.
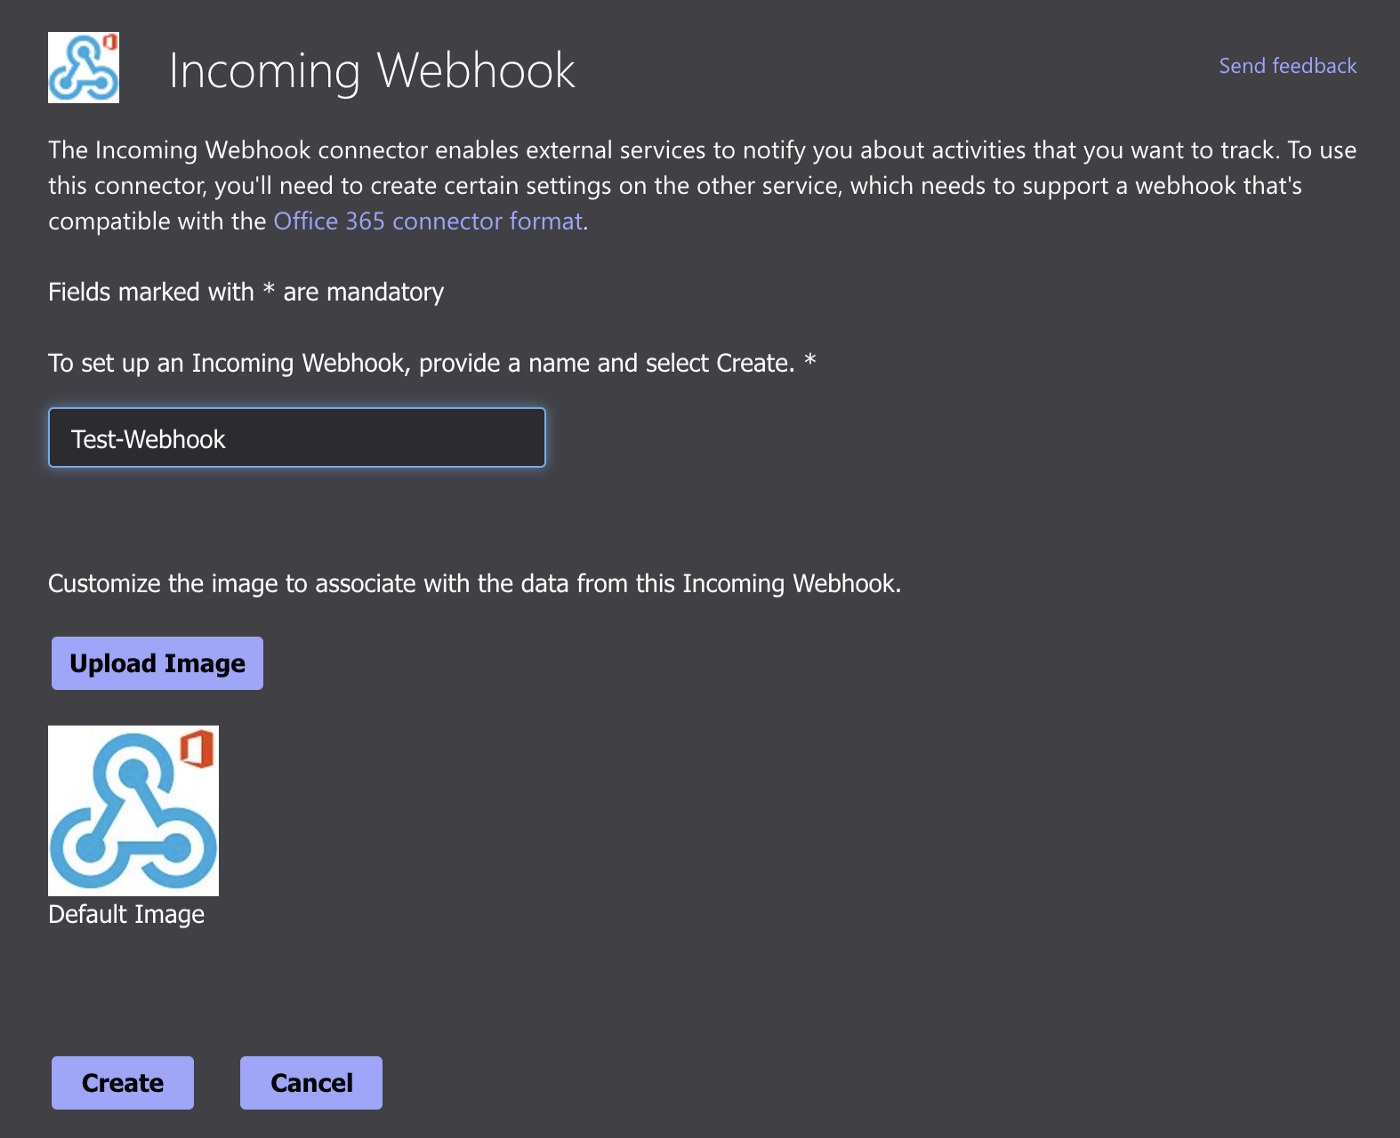
A URL will appear, which is the endpoint for the Webhook. Copy the Webhook URL.

Step #2 – Configure ALICE Receptionist to Use the Connector
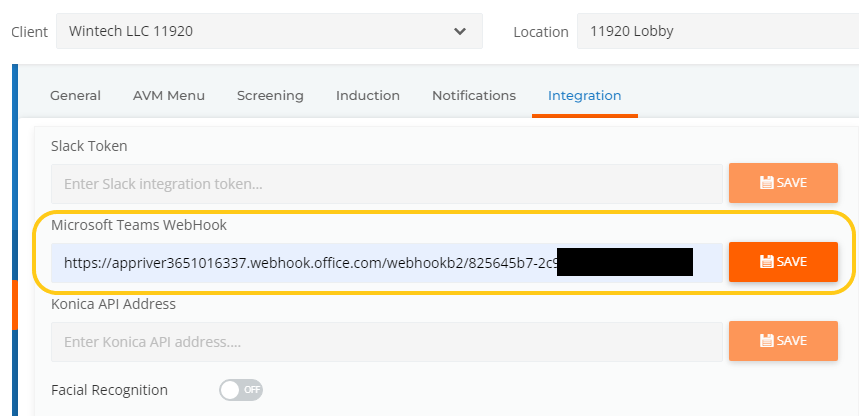
Log in as an administrator to the ALICE Portal. Navigate to the Integration section of the Visitor Management's Check-In settings.
Paste the URL in the "Microsoft Teams Webhook" field and click Save.
The connection between ALICE Receptionist and the Teams Channel is complete.