Events Configuration Process (5.5 and Beyond)
The Event Calendar feature of ALICE Receptionist displays events created through Outlook and Google Calendar. Visitors can view and check in to events scheduled for the day. An email address specific to your ALICE Directory and Events email will be required to utilize this feature.
Enabling Events
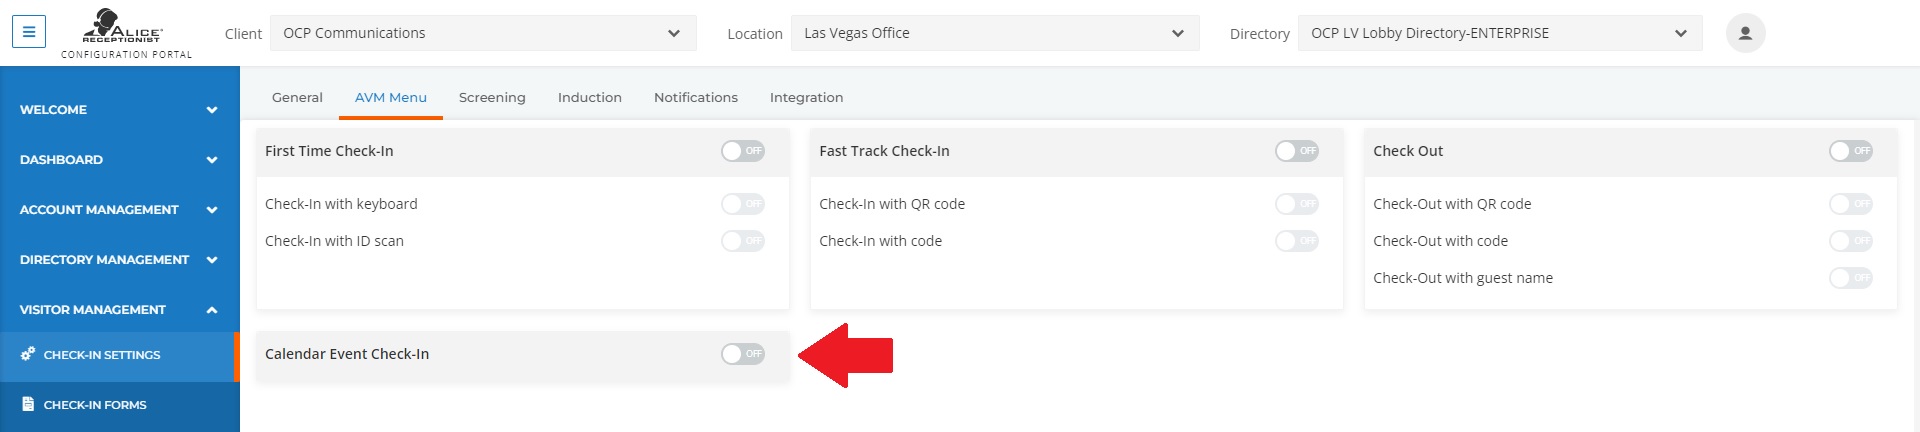
To utilize events, an ALICE Portal administrator needs to enable the Events feature. Under the AVM Menu tab in the Visitor Management's Check-in Settings section, enable "Calendar Event Check-in."
Creating an Event
To create an event available for check-in on ALICE Receptionist, locate your Events email through the ALICE Configuration Portal.
Navigate to the Directories tab under the Directories section of Directory Management. Click the  by the directory you wish to set up the event for.
In the pop-up window, Click the "AVM Settings" section to expand it and scroll down to find the "Events Email" field. This email address is unique for each ARD. This email address is unique for each ARD. This email should be added to your organization's contact list to access it more quickly.
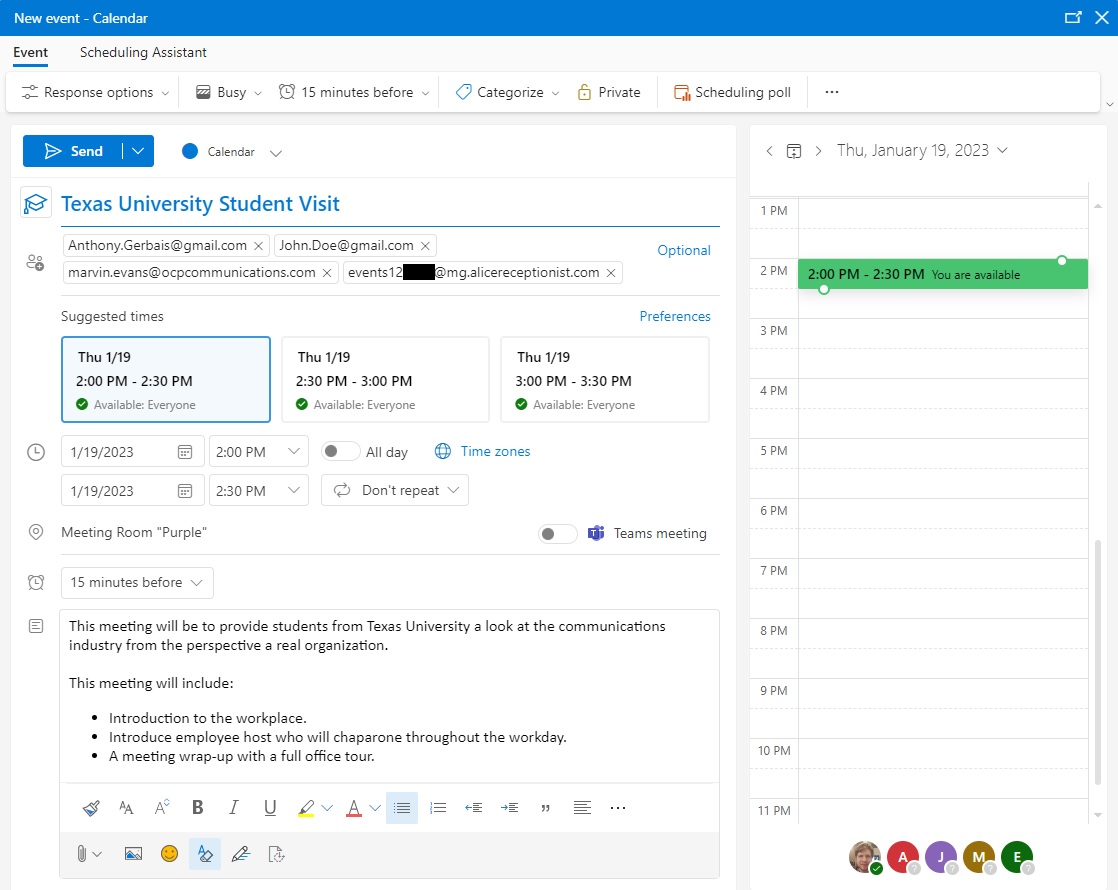
In your calendar app, create a new event. Include the ALICE Events email from the portal in the Attendees section of the event. Finish finalizing the event details. The information visible to visitors will include the Title, Date, Time, Location, and Description. Save the event.
On the scheduled day of the event, an Event listing will appear on the ALICE Directory. The visitors can only see events on the ARD on the day they occur. Visitors cannot view past or future events scheduled on different days.
Updating an Event
Any scheduling or information changes to the event can be made through your Outlook or Google calendar by editing the event. When you save your changes, choose the option to send out the update email to attendees so the AVM can update the changes on your system. A directory reboot is not required – changes made will become visible on the AVM within a few minutes. If you do not see your changes back out of the check-in process to the first check-in screen, wait another minute and start the check-in process again.