ARD Configuration Tool Menu Buttons Tab
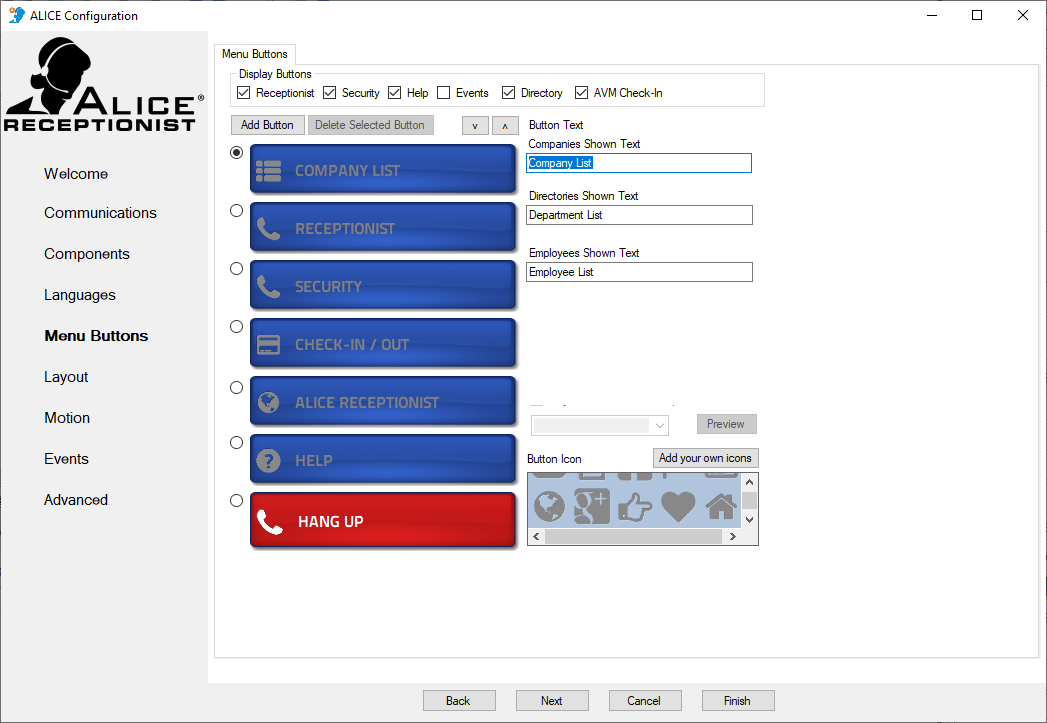
The Menu Buttons section is used to configure and customize the main menu buttons that display on the ARD![]() The ALICE interface that appears on the ALICE Kiosk in your Lobby, also known as the ALICE Receptionist Directory screen. Up to six buttons can be assigned, excluding the hang-up button.
The ALICE interface that appears on the ALICE Kiosk in your Lobby, also known as the ALICE Receptionist Directory screen. Up to six buttons can be assigned, excluding the hang-up button.
Display Buttons

Display buttons are pre-configured buttons that have specialized functionality.
-
Receptionist –The RECEPTIONIST button will contact an employee. Their Employee listing must be designated as the Receptionist contact for this Directory using the ALICE Admin Portal or Admin App before the button will be visible on the Directory screen.
-
Security – The SECURITY button will contact an employee. Their Employee listing must be designated as the Security contact for this Directory using the ALICE Admin Portal or Admin App before the button will be visible on the Directory screen.
-
Help – The HELP button plays a brief video that explains how to use the Directory.
-
Events (Legacy Feature) – The EVENTS button will display a list of today’s events for the current building. Configure the Events page using the settings available in the Events section. This button is associated with a Legacy version of the Events feature. Read the Events Configuration section for the modern version of the Events feature that is compatible with Visitor Check-in.
-
AVM Check-in – The CHECK-IN / OUT button opens the AVM software used for Visitor Check-in. To utilize this feature, the AVM Software will need to be installed on the ALICE Directory PC.
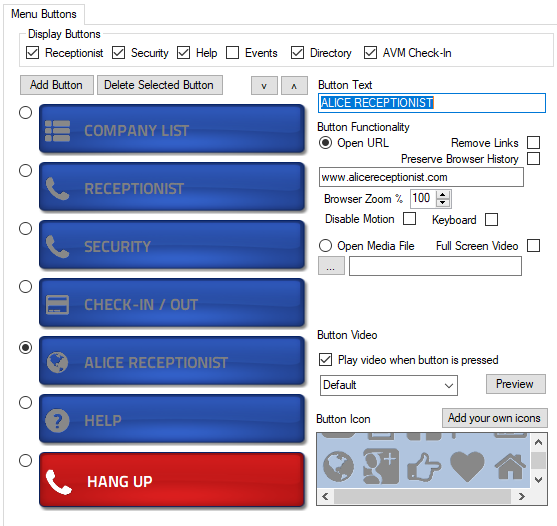
Creating Custom Buttons
-
Add Button – Creates a customizable button to edit. Type the caption of the button in the “Button Text” field. In this example, a button with the caption “CUSTOM BUTTON” has been created and is ready to be customized.
-
Delete Selected Button – Removes the selected custom button.
-
Button Text – Set the caption that will display on the button.
-
Button Functionality – Set the function the button will perform when clicked.
-
Open URL– Opens a website or HTML page. Enter the URL address to be opened when the button is pressed.
 Open URL Options
-
Remove Links – Disables links that open in new browser windows.
-
Browser Zoom % – Applies a zoom setting to the website.
-
Keyboard – If checked, this setting will cause an on-screen keyboard to appear so a user can enter information on the web page.
-
-
-
Open Media File – Displays an image or plays a video.
-
Full Screen Video – The video will fill the content space of the ARD.
-
Button Video – Choose whether a video of ALICE avatar talking should play when the button is pressed. Use the Preview button to view the video that will play.
Checking the box next to “Play video when button is pressed” will cause the ALICE avatar to briefly speak when the button is pressed.
-
Button Icon – Choose the icon to be displayed on the selected button.
-
The icon is the small graphic within the button that helps identify the button’s functionality.
-
-
Add Your Own Icons – Use this button to upload custom button icons.
-
The image size should be 100 x 100 pixels.
-
The image file format should be either .png or .jpg.
-
Advanced Settings
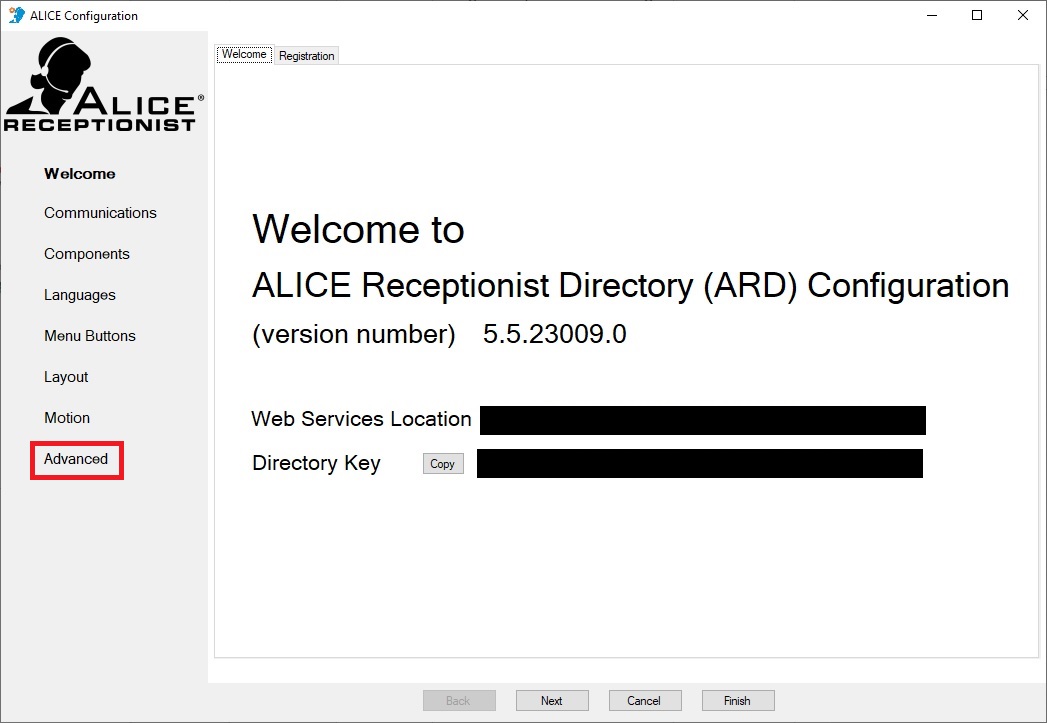
To configure advanced settings, select the Advanced option in the ALICE Configuration's side-bar navigation.
Menu Button Options

This section is used to customize specific colors for background images or text color.
-
Button On Image – Choose the background image for buttons when they are selected. This affects all buttons except the HANG UP button.
-
Button Off Image –Choose the background image for buttons when they are not selected. This affects all buttons except HANG UP.
-
Hang Up Image – Select the background image for the Hang Up button.
-
Remove –Removes the custom uploaded image and returns to the default image.
-
Text Color – Sets the text color for the buttons.
Button Preview
-
Choose “Selected” to preview what the menu buttons will look like when selected.
-
Choose “Available” to preview what the menu buttons will look like when not selected.
-