ARC Configuration General Settings Tab
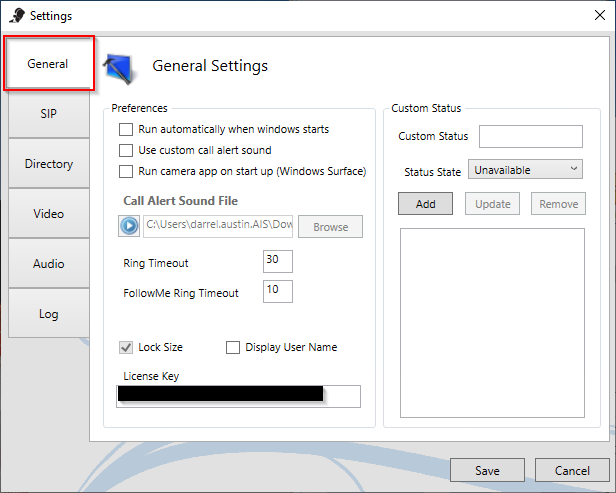
The GeneralSettings tab contains several configuration settings the user can use to customize their ARC![]() The ALICE-specific softphone client installed on the employee's PC, also known as the ALICE Receptionist Client..
The ALICE-specific softphone client installed on the employee's PC, also known as the ALICE Receptionist Client..
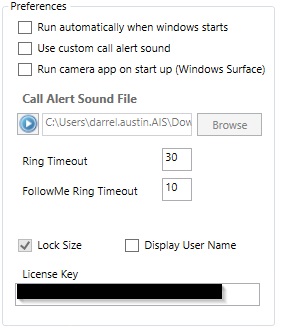
Preferences
-
Run automatically when Windows starts – When checked, the ARC will automatically launch once the Windows user logs in.
-
Use custom call alert sound – The user can provide their own alert sound that plays with incoming calls. Check the box and use the Browse button. Use Windows Explorer to locate the audio file that will be your custom alert tone.
-
Run camera app on startup (Windows Surface) –This option is a legacy feature for older Windows Surface tablets that require a separate camera application for the ARC to recognize it. When checked, the ARC will attempt to start Windows camera app.
Some versions of Windows may not support this feature. Unless advised by an ALICE Support representative, leave this option unchecked.
-
Ring Timeout –Enter the number of seconds that the ARC will wait before timing out an incoming call.
-
FollowMe Ring Timeout –Enter the number of rings that will occur from an incoming call before sending the call to the FollowMe number.
-
Lock Size – This feature locks the size of the ALICE Receptionist Client. This option may not be available in certain versions of the application.
-
Display User Name –Displays the first and last name of the employee whose card was selected by the visitor on the ARD's
 The ALICE interface that appears on the ALICE Kiosk in your Lobby, also known as the ALICE Receptionist Directory screen.
 -
License Key – The license key associated with ARC's primary ARD.
Custom Statuses

Multiple custom statuses can be created, which they can then select from the Status button’s drop-down menu to update their presence on the ARDs.
-
Custom Status – Type in the custom status description here (i.e., On Phone, At Lunch, etc.). This status will appear on the ARD. It is recommended this status be only one or two words long to fit on the default Employee card size.
-
Status State – Designate whether the custom status should allow the employee to receive calls. When set to available, the employee can still receive calls. When set to unavailable, the ARC will automatically reject the call.
-
Add –Click the Add button to add a custom status to the Custom Status list.
-
Update – After selecting a previously created status from the list, make changes to the "Custom Status" field and the "Status State" field. To finalize your changes, click the Update button to update the custom status.
-
Remove – After selecting a previously created custom status, click the Remove button to delete the custom status.