ALICE Receptionist Client Install Wizard
Launch the ARC![]() The ALICE-specific softphone client installed on the employee's PC, also known as the ALICE Receptionist Client. installation executable. ALICE Portal users
The ALICE-specific softphone client installed on the employee's PC, also known as the ALICE Receptionist Client. installation executable. ALICE Portal users![]() A standard user on the ALICE Portal who does not have elevated administrative privledges. The permission-level of this user can be modified by an ALICE Administrator. can download the latest version in the Software Downloads section of the ALICE Portal
A standard user on the ALICE Portal who does not have elevated administrative privledges. The permission-level of this user can be modified by an ALICE Administrator. can download the latest version in the Software Downloads section of the ALICE Portal![]() The website an ALICE Administrator or User logs into to update their employees' details, view reports, or manage visitor-related functionality..
The website an ALICE Administrator or User logs into to update their employees' details, view reports, or manage visitor-related functionality..
Install Wizard Step #1
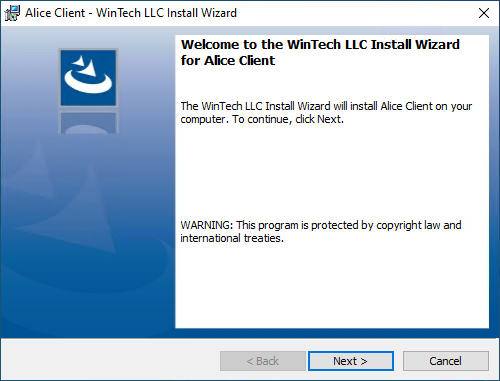
Click Nextand follow the on-screen recommendations. If applicable, allow exceptions to the PC's firewall to allow the installation to continue.
Install Wizard Step #2
Choose the destination folder. The default is set to:
C:\Program Files (x86)\Wintech LLC\Alice\Client\
-
To change the file path, click Change… and select the folder that the ARC will be installed to.
-
To keep the default setting, click Next.
Install Wizard Step #3
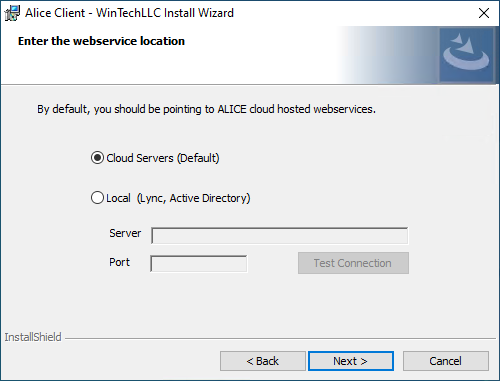
Choose the web services from the following options:
Cloud Servers (Default) – Customers using the ALICE Cloud Communications will select this option.
Local (ALICE Local Services) – Customers who have installed the ALICE Local Database and ALICE Services will select this option.
-
Server – Enter the name of the server where the ALICE Services are installed.
Note: The default value localhost should be used if the local database is installed on the same PC as the ARD
The ALICE interface that appears on the ALICE Kiosk in your Lobby, also known as the ALICE Receptionist Directory.
-
Port – Enter the port number for the server on which the ALICE Services are installed.
Note: The default value is 8010.
-
Test Connection – After populating the above two fields, use this button to verify that the settings entered are correct.
Install Wizard Step #4
Follow the on-screen recommendations and click Install.
Install Wizard Step #5
Check the box in the completion window for the ARC software to launch after selecting Finish. The ALICE Client has now been successfully installed.
A shortcut will be added to the Windows Desktop for launching the ARC software in the future.

Refer to the ALICE Receptionist Client First Time Configuration for steps on configuring the ARC.